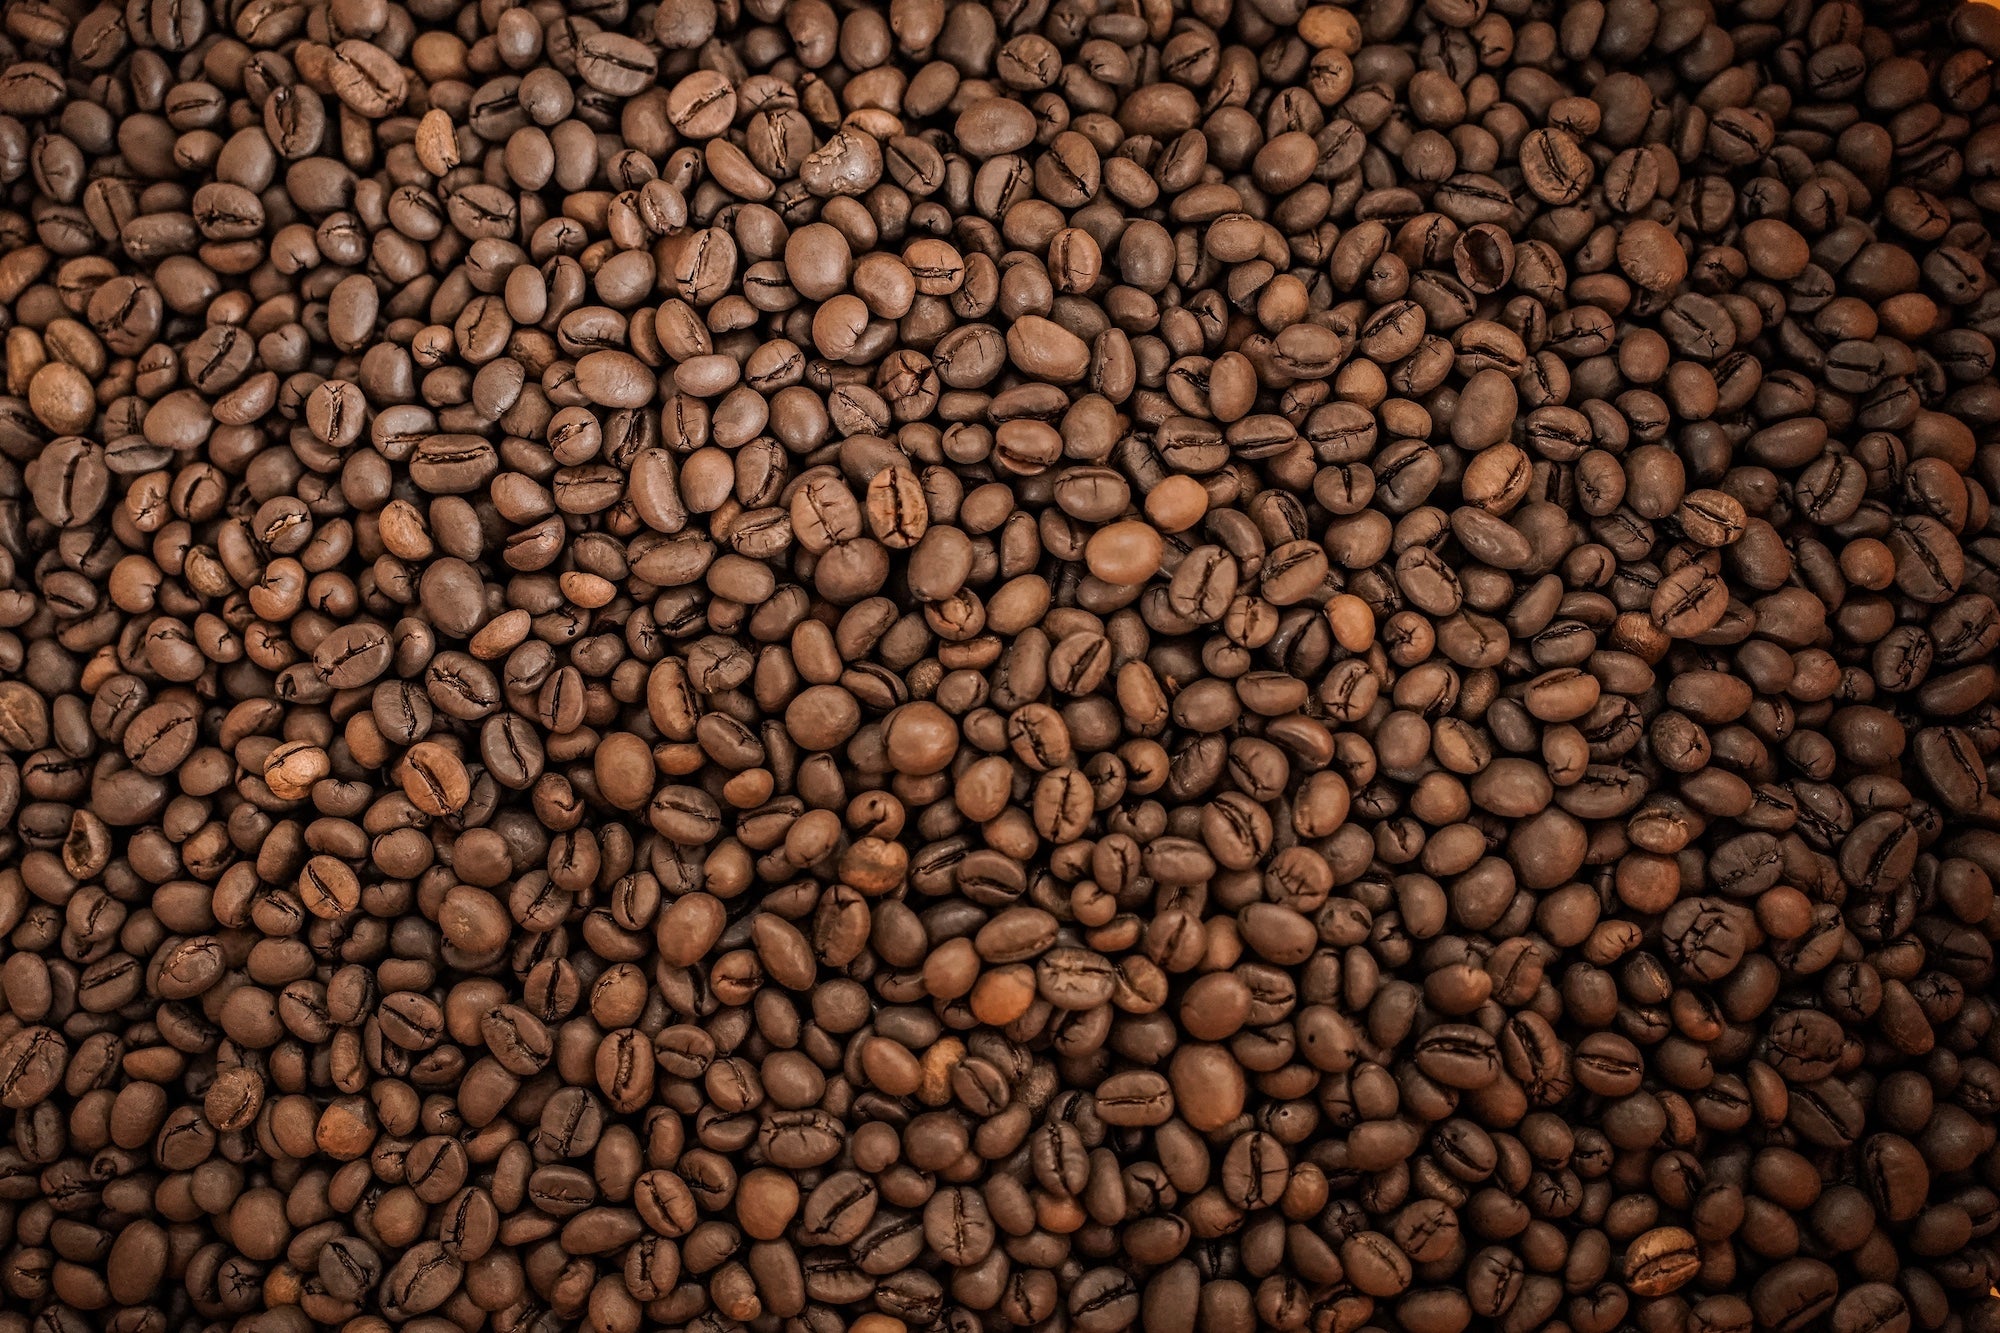
Discover the Richness of Ghanaian Robusta: Your Ultimate Brew Guide
Whether you're an aspiring home barista or a seasoned coffee enthusiast, our brew guide will equip you with the knowledge and techniques to elevate your robusta coffee brewing experience. From choosing the right grind size to finding the perfect water-to-coffee ratio, we'll guide you through the step-by-step process of extracting the full potential of our Ghanaian robusta.
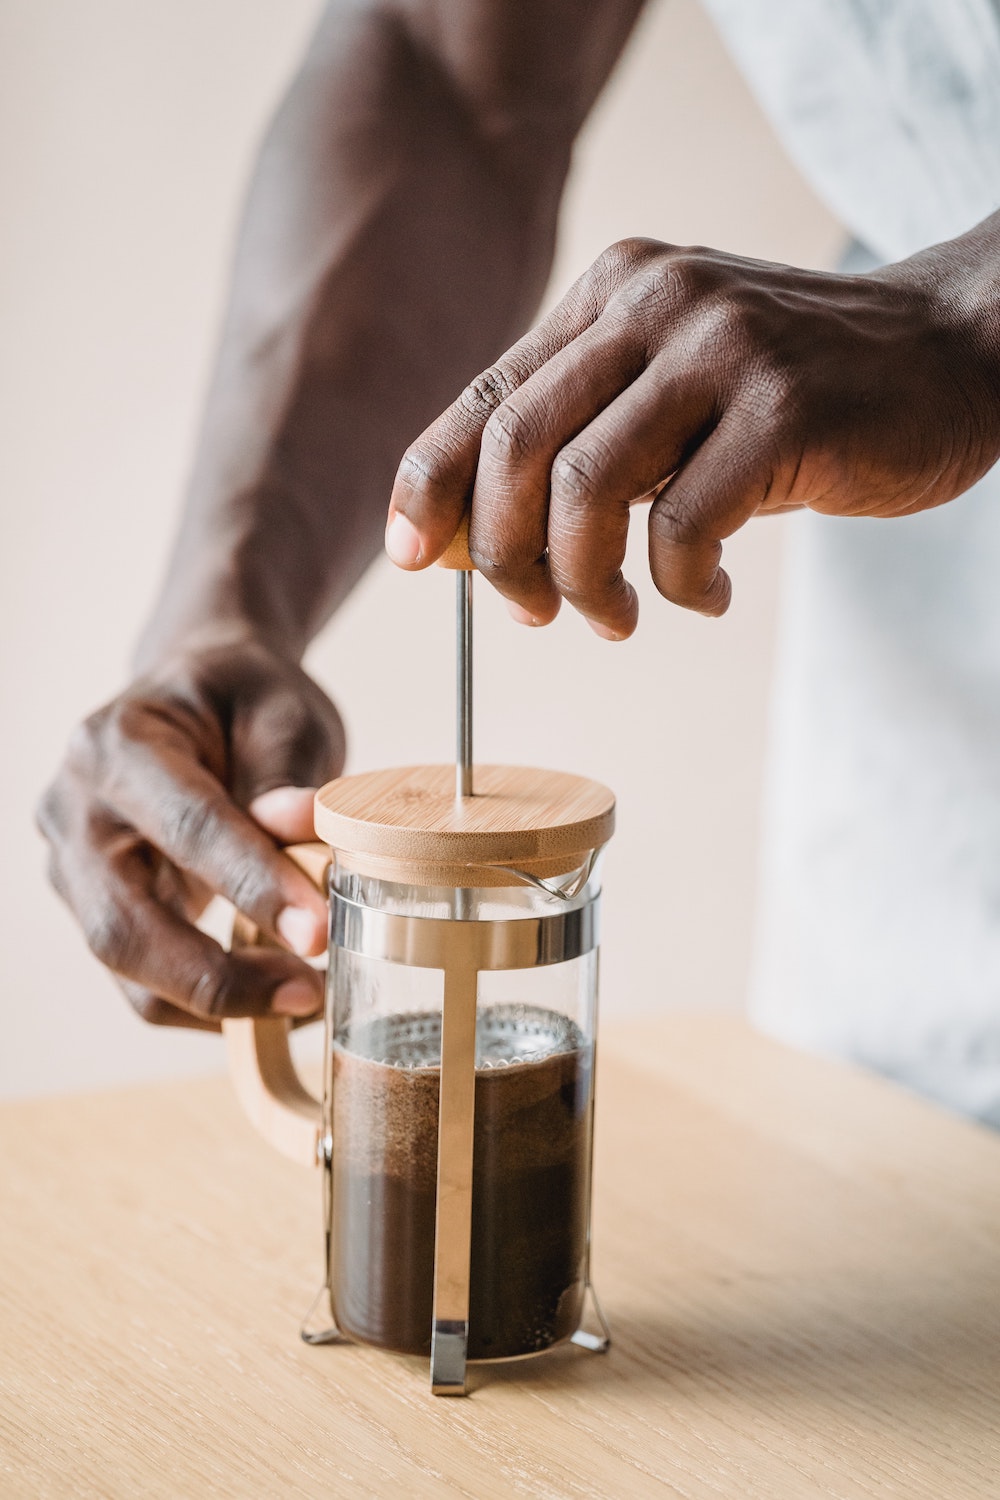
full-bodied coffee extraction
French Press
- French Press
- Coarsely ground coffee
- Hot water, just below boiling
- Timer
Add the desired amount of coarsely ground coffee to the empty glass chamber. As a general guideline, use 1 tablespoon of coffee per 4 ounces (120 ml) of water.
Start your timer and slowly pour hot water over the coffee grounds, ensuring all the grounds are saturated. Use water just below boiling point to avoid scalding the coffee. Fill the French press to the desired level, leaving some space at the top for the plunger. Stir the coffee grounds to ensure even extraction, and attach the plunger. Do not press down yet.
Let the coffee steep in the French press for about 4-5 minutes. A longer brew time can result in a stronger, more robust flavor.
After your desired brewing time has passed, slowly and steadily press the plunger down, applying even pressure. Immediately pour the brewed coffee & serve it right away to enjoy its optimal flavors.
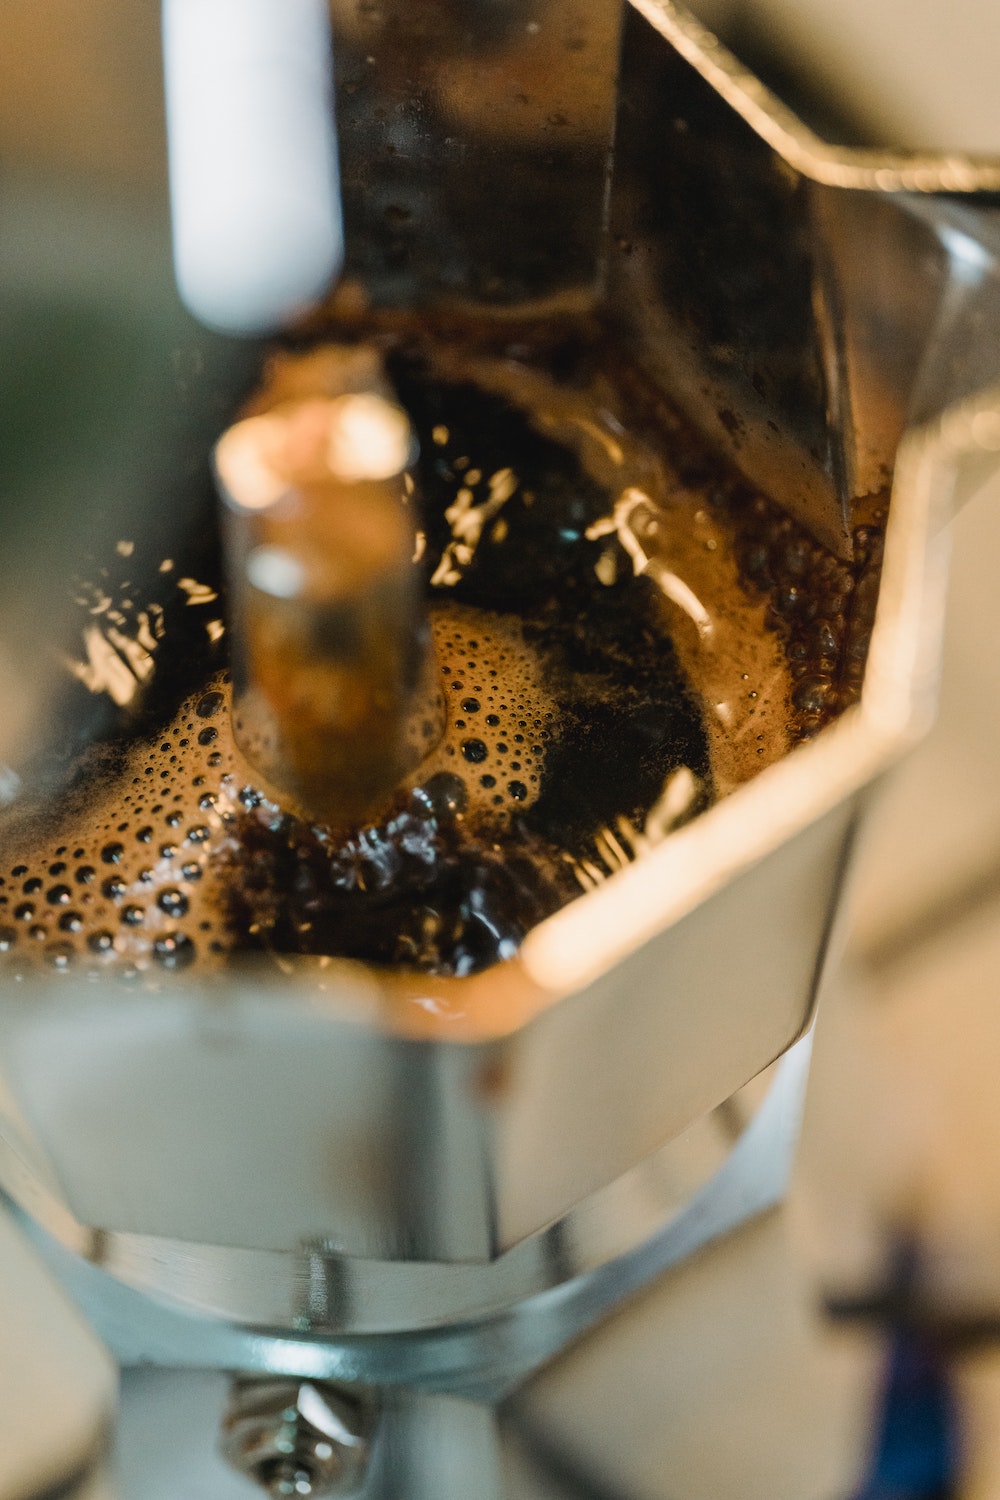
timeless & elegant Italian coffee brewing
Moka Pot
- Moka Pot
- Medium ground coffee
Fill the base of the moka pot with fresh, cold water up to the safety valve. Fill the filter basket gently with medium-ground coffee, and avoid packing it too tightly. Place the filter basket into the base, and screw on the top chamber.
Place your moka pot on a stovetop, over medium-low heat, ensuring that the handle is not directly over the flame. You'll hear a gurgling sound as the upper chamber starts to fill with coffee. Just before it starts to sputter, remove the moka pot from the heat source. This prevents over-extraction and burnt coffee.
Remove the moka pot from the heat, and either run it under cold water to stop the brewing process, or pour the coffee into a cup or serving carafe. Serve and enjoy!
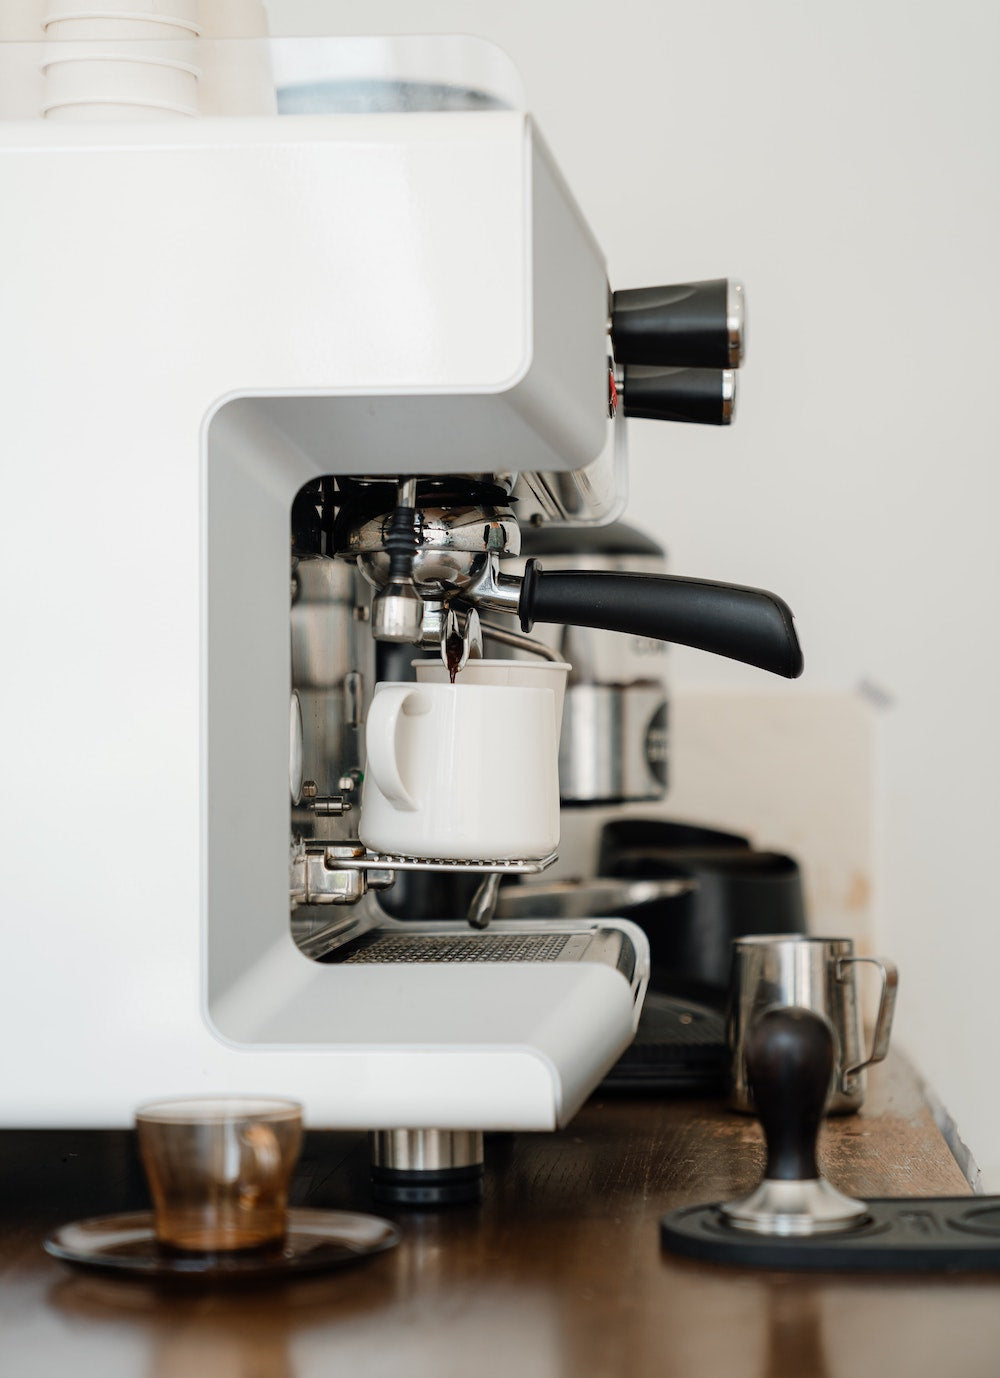
extract intense & rich flavours
Espresso
These instructions will vary by specific espresso machine models.
- Espresso machine
- Coffee grinder
- Freshly roasted coffee beans
- Tamper
- Scale
Fill the water reservoir with fresh filtered water. Turn on your espresso machine to allow it to warm up to proper operating temperature. Preheat the portafilter by running hot water through the group head for a few seconds.
Use a grinder to achieve a fine grind just before brewing for the freshest taste. A standard dose is 16-18g for a double shot. Place the coffee into the warm portafilter evenly, and level it off with a distributor tool. Put the portafilter on a flat, stable surface. Using a tamper, firmly press down on the coffee grounds, applying even pressure. Aim for a consistent, level tamp to ensure optimal extraction.
Attach the portafilter back into the group head of the espresso machine. Start the brewing process and monitor the espresso as it's being extracted. During the extraction, pay attention to the flow of the espresso. It should start with a slow, thick flow and gradually turn into a steady, honey-like stream. The ideal extraction time can vary but typically falls within the range of 25-35 seconds.
Serve your freshly brewed espresso immediately, savor and enjoy!
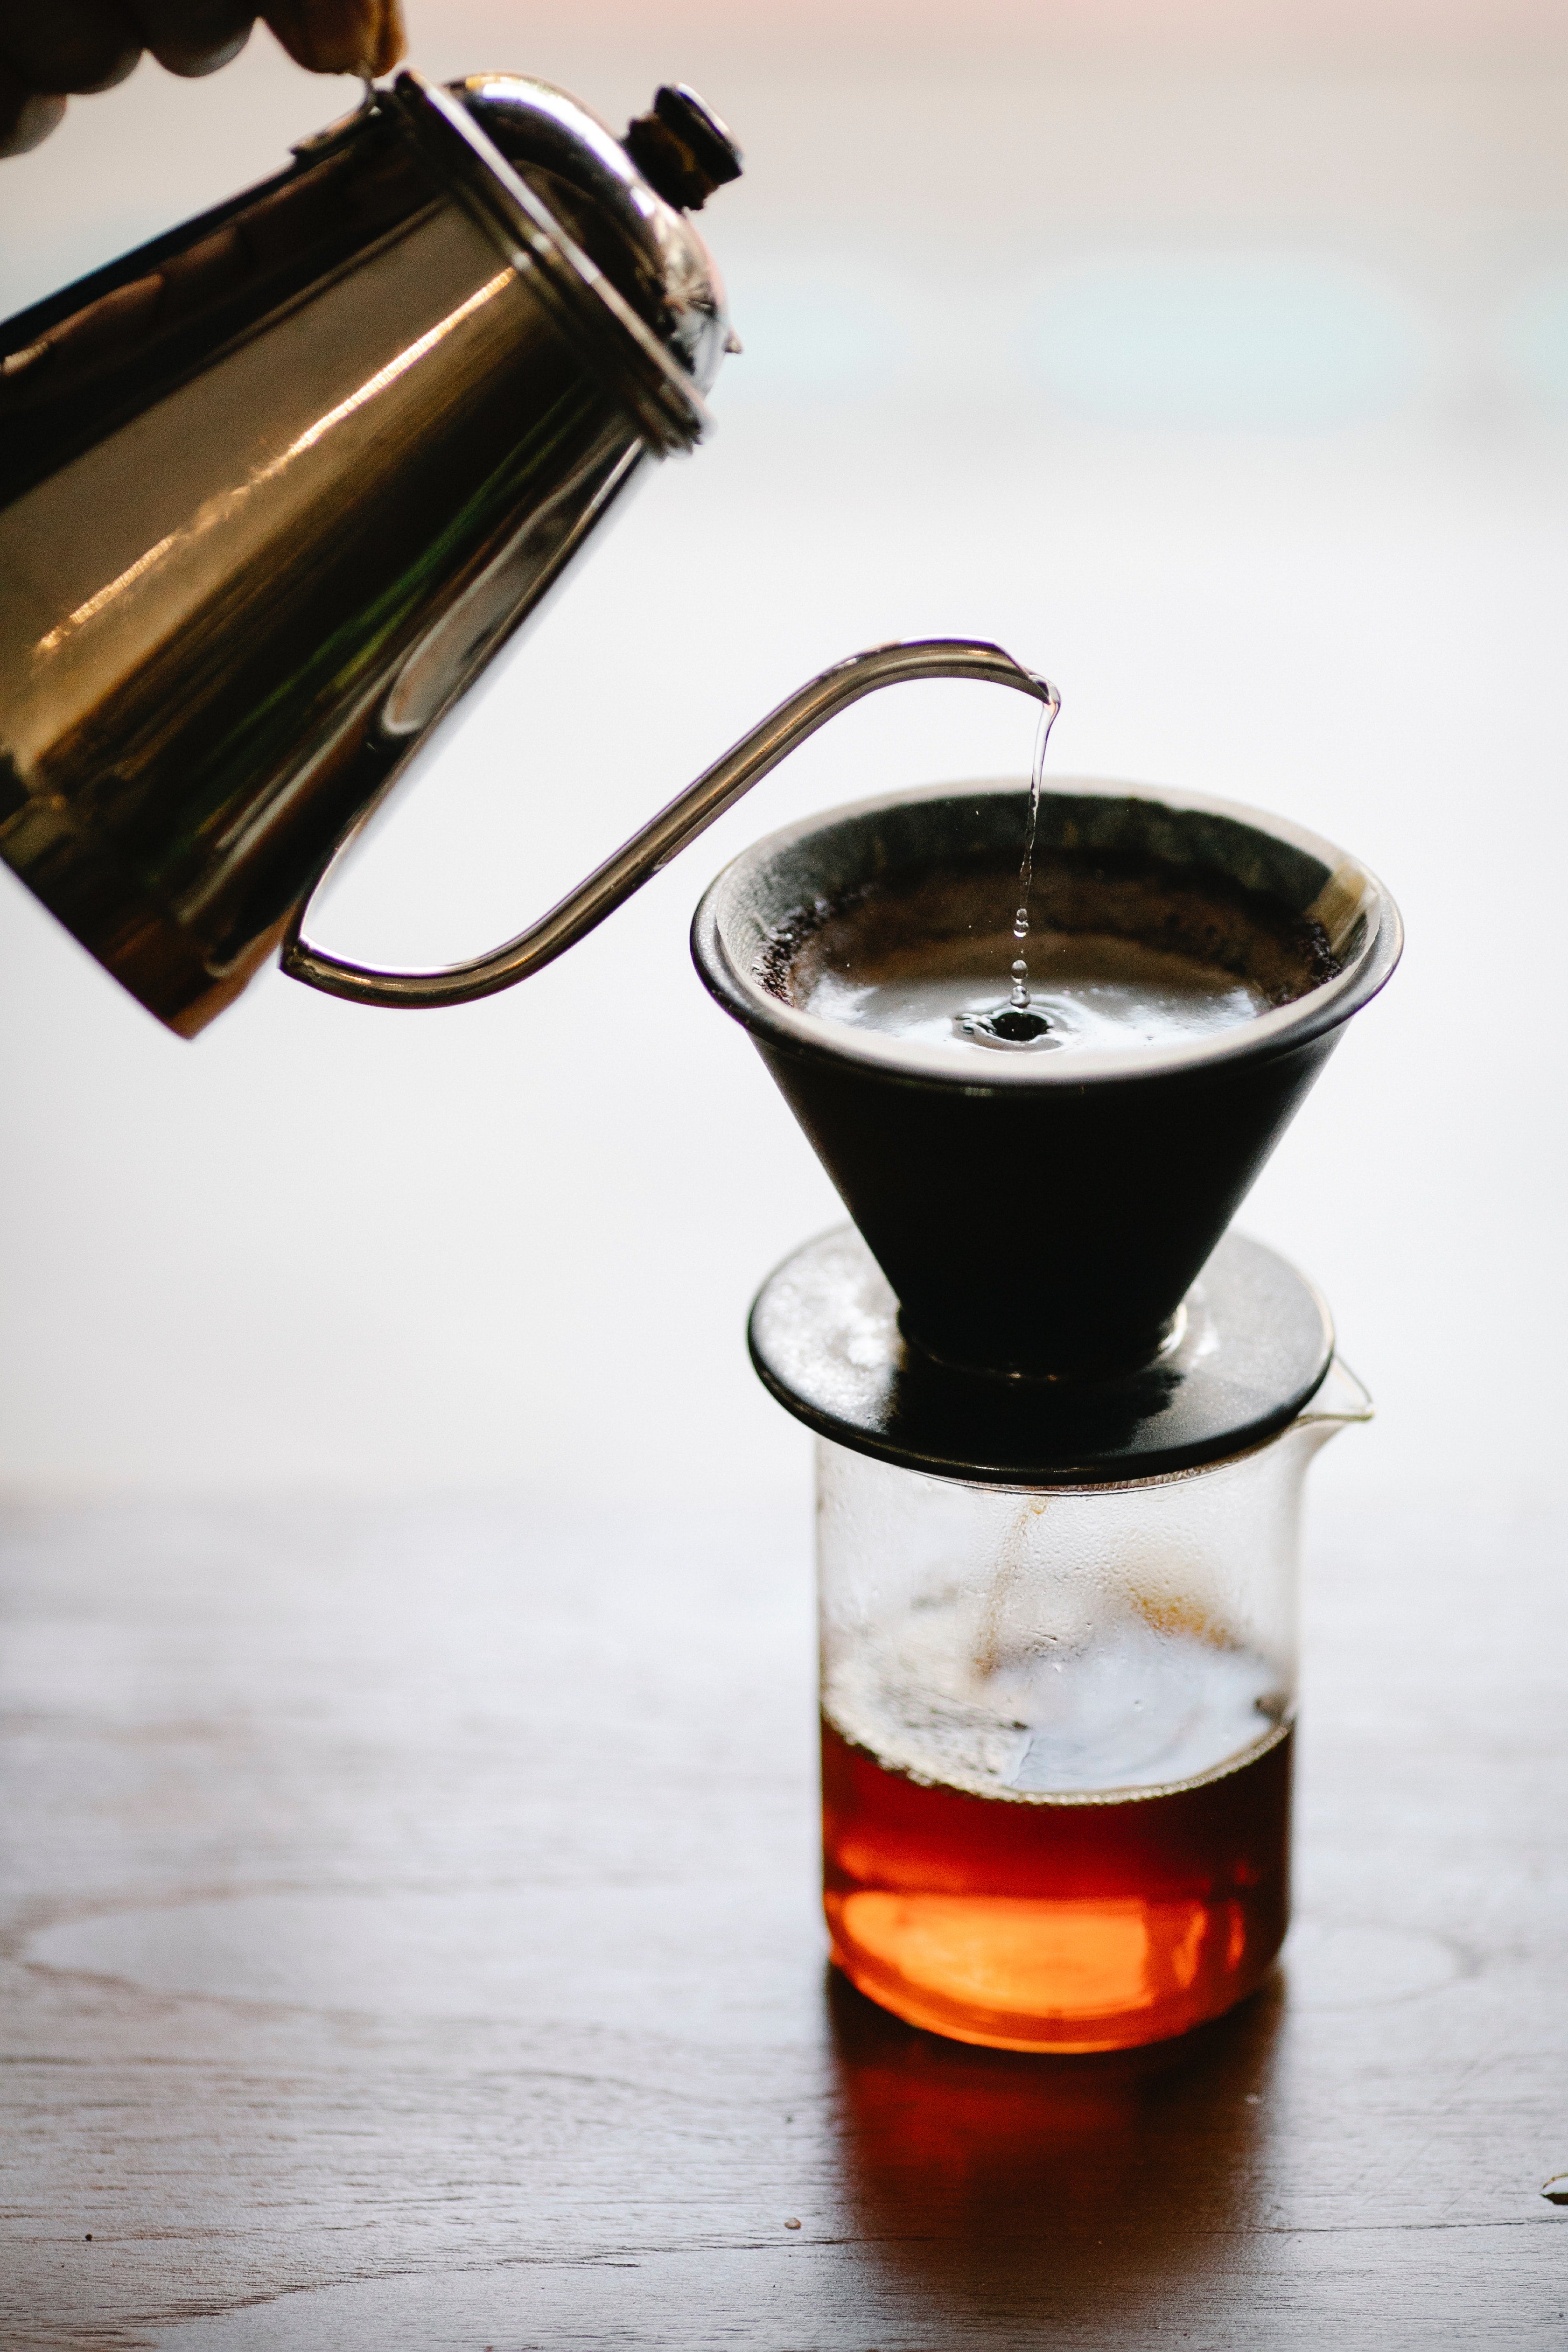
Where Precision Meets Exceptional Flavor
Pour Over/Drip
- Pour-over coffee dripper such as a Hario V60 or Chemex
- Paper filters
- Medium-coarse coffee
- Kettle, ideally gooseneck
- Timer
- Scale
Begin by boiling filtered water, and allowing it to cool slightly for about 30 seconds. Place a paper filter into the pour-over dripper. Rinse the filter with hot water to remove any paper taste and preheat the dripper. Discard the rinse water from the dripper and place it on top of your coffee mug or carafe.
Determine the amount of coffee you want to brew. As a general guideline, use a ratio of 1:15, meaning 1 part coffee to 15 parts water by weight. Zero your scale, and add the medium-coarse ground coffee to the filter in the dripper.
Bloom the coffee by pouring just enough hot water to cover the coffee grounds in a circular motion. Let it sit for about 30 seconds, allowing the coffee to expand and bubble up. Slowly pour the remaining hot water in a circular motion, starting from the center and moving outward. Pour with a steady, controlled hand, ensuring all the coffee grounds are evenly saturated. Avoid pouring water too quickly, as it may result in an uneven extraction. The entire process should take around 2-4 minutes.
Once the brewing process is complete, carefully remove the dripper from the mug or carafe. Discard the used paper filter and coffee grounds. Pour the freshly brewed pour-over coffee into your desired coffee cups and enjoy!
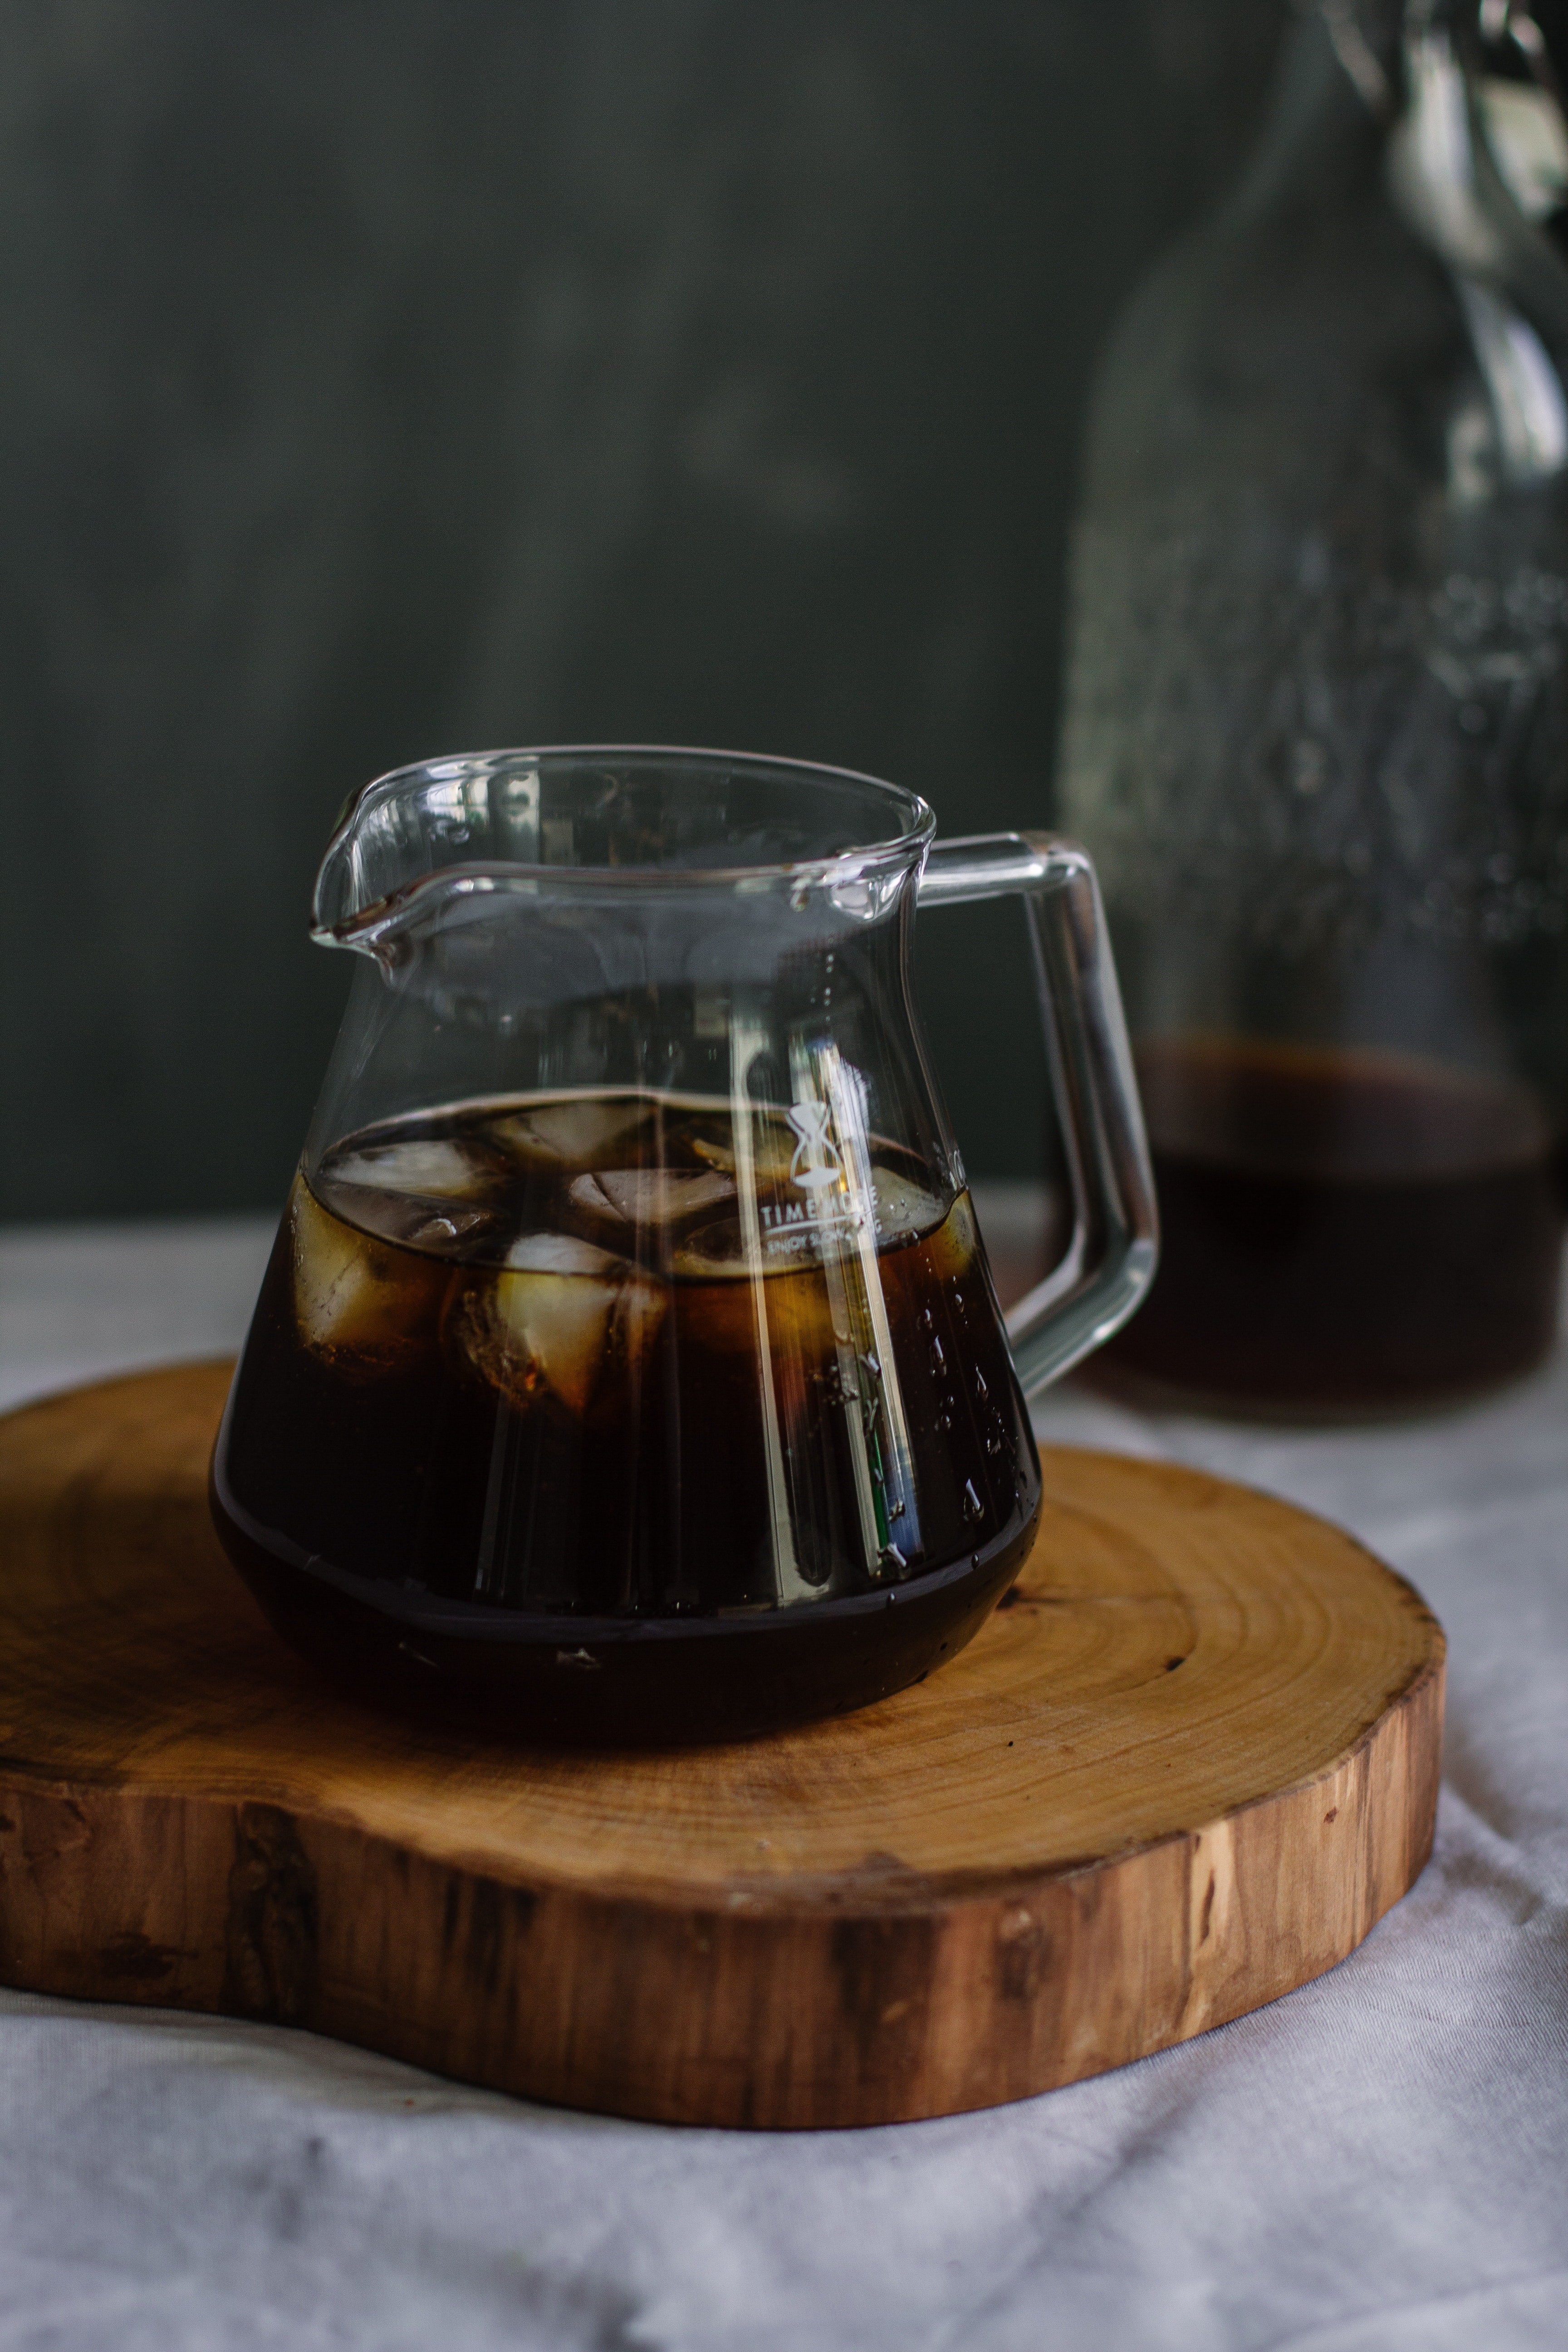
smooth & refreshing bold flavours
Cold Brew
- Coarsely ground coffee
- Cold filtered water
- Container or jar with a lid
- Coffee filter or cheesecloth
Determine your desired coffee-to-water ratio. A typical ratio is 1:4 or 1:5, meaning 1 part coffee to 4 or 5 parts water. Adjust the amount according to your desired strength and the size of your container. For example, if you use 1 cup of coffee grounds, you'll need 4 to 5 cups of water.
In the container or jar, add the coarsely ground coffee. Slowly pour in the cold filtered water, ensuring all the coffee grounds are fully saturated. Stir gently to ensure even extraction. Place a lid on the container or jar and let the coffee steep at room temperature between 12 to 24 hours. A longer steeping time results in a stronger, more concentrated brew.
Once ready, slowly pour the cold brew mixture through the filter to remove the coffee grounds. Once the cold brew has been strained, discard the used coffee grounds or compost them. Alternatively, you can reuse the grounds for other purposes, such as gardening or as a body scrub. Transfer the strained cold brew into a clean container and refrigerate it. The cold brew concentrate can be stored in the refrigerator for up to two weeks, but it's best to consume it within the first week for optimal freshness.
To serve, dilute the cold brew concentrate with water, milk, or your preferred liquid-to-coffee ratio. Cold brew is highly customizable. Feel free to experiment with different coffee beans, grind sizes, steeping times, and dilution ratios to find your preferred flavor profile. The slow extraction process results in a smooth, less acidic brew that's perfect for enjoying over ice. Enjoy your refreshing cold brew!
